Creating a tile server
The goal of this section is to serve as a general tutorial of how to work with OpenMaptiles, TileServer GL, and maputnik. This will for sure not be an comprehensive tutorial and will only show enough for our purposes.
Working with OpenMapTiles and TileServer GL
Per their documentation “OpenMapTiles is an extensible and open tile schema based on the OpenStreetMap. This project is used to generate vector tiles for online zoomable maps. OpenMapTiles is about creating a beautiful basemaps with general layers containing topographic information”.
OpenMapTiles provides a simple way to download OSM data and create maps. In simple words they convert OSM data
into mbtiles. OpenMapTiles organizes the vector tiles into a schema that
makes it simple to style. It is also possible to make custom layers from OSM data. Here
is a nice example.
However, for this tutorial we won’t really focus on these capabilties as we do not want our data to come directly from OSM. In Metropolis-2, we modified streets and buildings to ensure they are usable in BlueSky. Downloading OpenMapTiles also brings TileServer GL. It is also possible to skip OpenMapTiles and just download TileServer GL but we will not. Note that both will require installing docker.
Start the server
OpenMapTiles brings in a lot of commands that are used for creating and
serving the tiles. To create a tile server it is as simple as just running make start-tileserver in the root directory
of openmaptiles. This should give you something similar to this:

The output gives us a couple clues as to how the tile server works.
The tile server is at
http://localhost:8080.A docker command is executed
docker run --rm --user=501:20 -it --name tileserver-gl -v $(pwd)/data:/data -p 8080:8080 maptiler/tileserver-gl --port 8080No
mbtilesfile was found sozurich_switzerland.mbtileswas downloaded.A
config.jsonfile was automatically created.This basic preview style is used.
Running with
--verbosewill give us information aboutconfig.json.
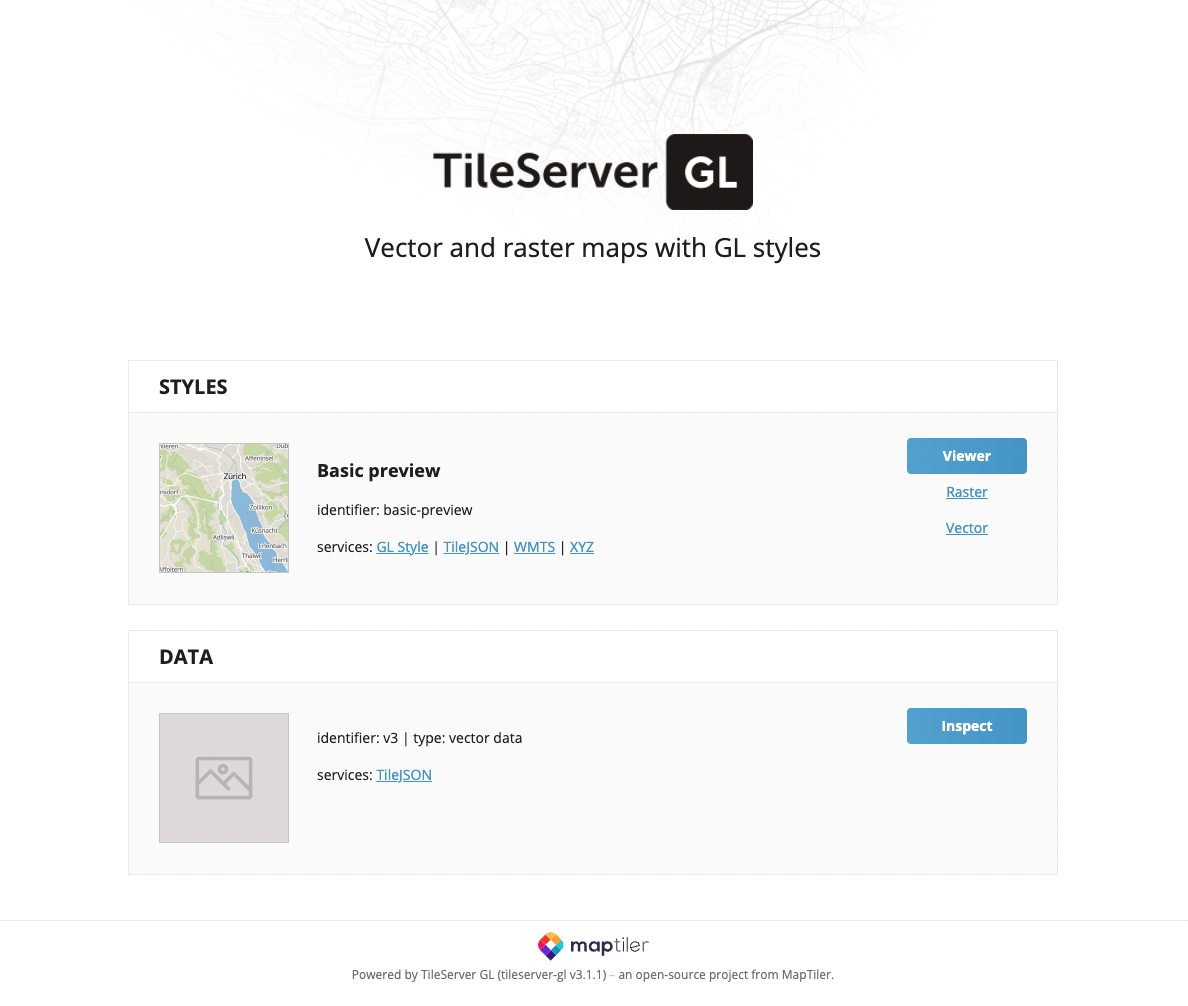
Visiting http://localhost:8080 in a web browser will show us the tile server.
There are two important sections styles and data.
The config file
The TileServer GL documentation
shows all the possible options for the config.json file. In this section we
will talk about the main parts that we need for Metropolis-2.
Running the docker command from the output above with --verbose will show the one used by make start-tileserver.
docker run --rm --user=501:20 -it --name tileserver-gl -v $(pwd)/data:/data -p 8080:8080 maptiler/tileserver-gl --port 8080 --verbose
This returns a slightly longer output with the config.json file.
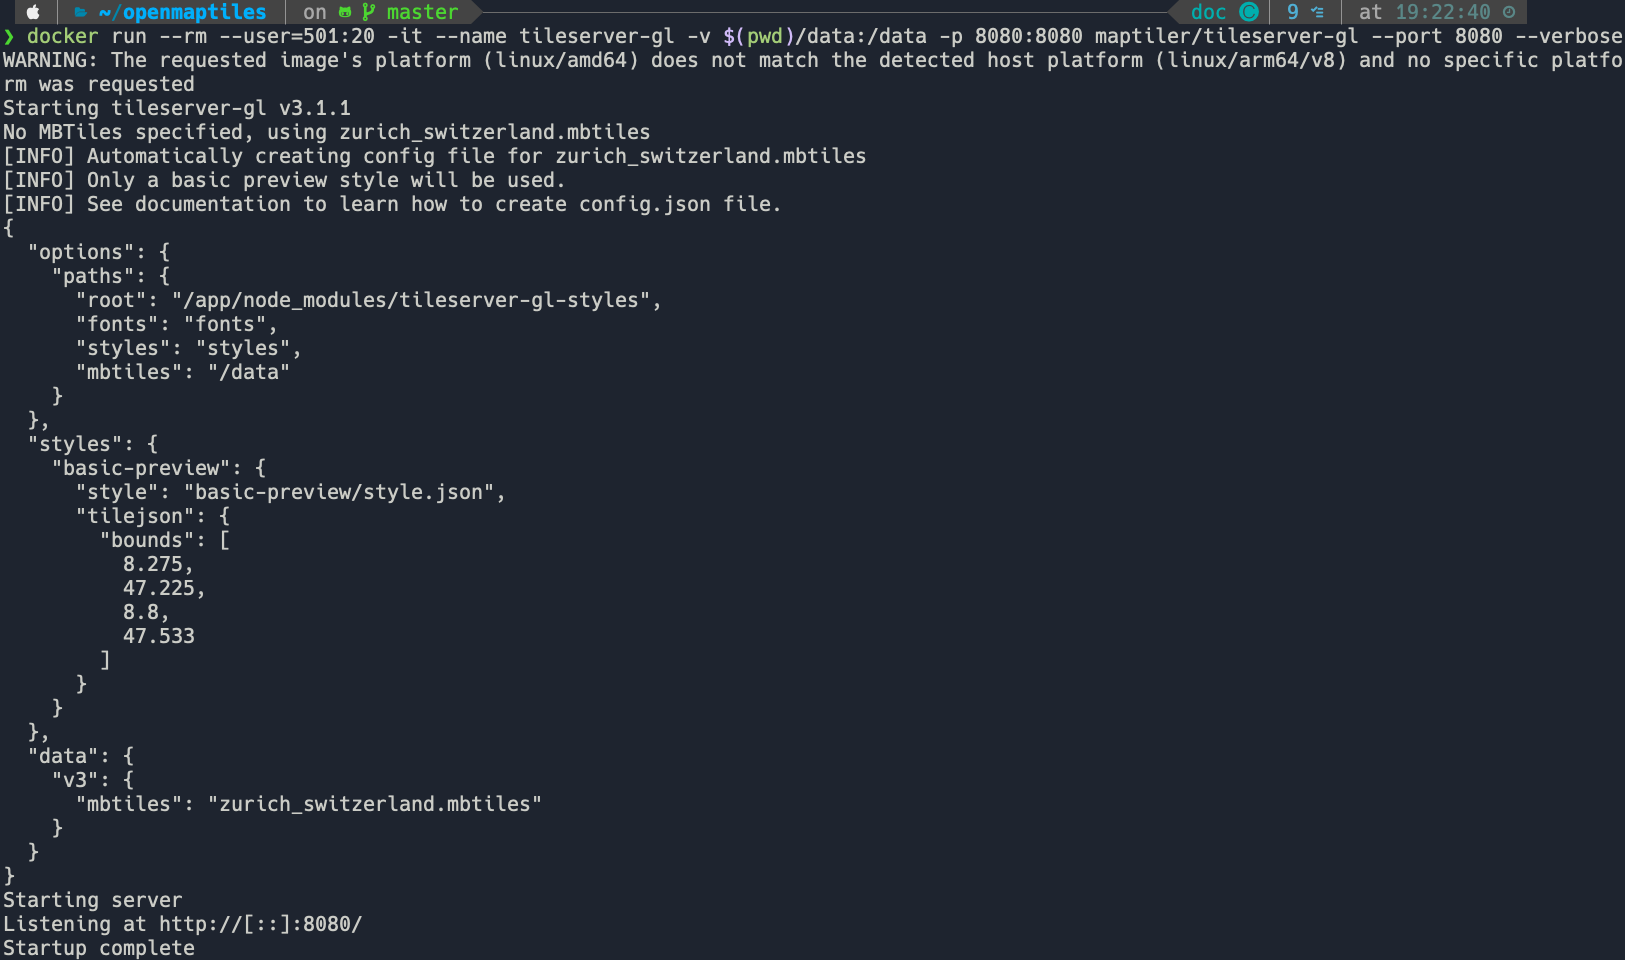
The config.json file is as follows.
{
    "options": {
      "paths": {
        "root": "/app/node_modules/tileserver-gl-styles",
        "fonts": "fonts",
        "styles": "styles",
        "mbtiles": "/data"
      }
    },
    "styles": {
      "basic-preview": {
        "style": "basic-preview/style.json",
        "tilejson": {
          "bounds": [
            8.275,
            47.225,
            8.8,
            47.533
          ]
        }
      }
    },
    "data": {
      "v3": {
        "mbtiles": "zurich_switzerland.mbtiles"
      }
    }
}
There important parts of the config file are (1) options, (2) styles, (3) data.
For this tutorial we will only work with the parts shown in the default config.json.
Now that we have all the data the most difficult part is pretty much done. The trick now
is to get the paths right inside options. In the current config, the root directory is somewhere inside our docker shell.
If we open a new terminal and enter the docker shell, we can navigate to the root directory.

The other paths (fonts, styles, and mbtiles) are dependent on the root path.
For example to navigate to fonts we would have to visit /app/node_modules/tileserver-gl-styles/fonts
You can see this directory in the image above. It is the sames for styles. However, if you take a look at the image above
you won’t find the mbtiles path because the path starts with a forward slash (/). In this case it means that we
need to look inside the /data/ directory of the docker shell.

This data directory inside the docker shell is actually just a copy of openmaptiles/data.
In the future this is where we will place our vector tiles, style schema, and fonts (you can also put some sprites there but we will not be doing that in this tutorial).
About fonts
If you visit the /app/node_modules/tileserver-gl-styles/fonts directory in the docker shell you
will see a Noto Sans Regular font directory with a bunch of pbf files.
These are the default fonts of the server. If a custom style references a non existent font,
the server will use the default font. For most of my cases, the default is fine.
However, to use other fonts we can look at at the OpenMapTiles font repository and either:
package the fonts.
set
"glyphs": "http://fonts.openmaptiles.org/{fontstack}/{range}.pbf"in the style schema.
Since we are attempting to do everyhting locally, we will package the fonts following these instructions.
See TileServer GL documentation for more information.
Note
You are not only limited to the OpenMapTiles fonts. An easy way to create a font is to make a new directory
in the root of OpenMapTiles fonts and place a ttf or otf file in there. The OpenMapTiles script
will automatically generate the necessary pbf files. Just make sure to check licensing.
About styles
If we look again at the config.json file we see the basic-preview style located at
/app/node_modules/tileserver-gl-styles/styles/basic-preview/style.json. It also
has some information about the bounding box of the tiles (not required but nice).
The style.json is almost a complete copy of of this.
The only difference are the paths to the vector tiles and glyphs. The online version is linking to
the MapTiler server, while the one in the docker shell is linking to a local path. You can actually
use any path (local or remote), however some paths may require an api key (mapbox or MapTiler).
Below you can see just the top of the style.json file in the docker shell.
{
  "version":8,
  "name":"Basic preview",
  "metadata":{
    "openmaptiles:version":"3.x"
  },
  "sources":{
    "openmaptiles":{
      "type":"vector",
      "url":"mbtiles://{v3}"
    }
  },
  "glyphs":"{fontstack}/{range}.pbf"
}
Under sources you can see that the OpenMapTiles vector tiles are linked to the local tiles v3.
Looking at the config.json above we can see that those are the zurich_switzerland.mbtiles.
The glyphs path is set to {fontstack}/{range}.pbf which means that the font will depend on whatever
the layer (more on this later) uses. The basic preview style only uses the Noto Sans Regular font which comes packaged with
OpenMapTiles.
About sprites
The Metropolis-2 tiles will not be using sprites but it is worth briefly mentioning them.
The dark matter style provides an example path to sprites.
"sprite": "https://openmaptiles.github.io/dark-matter-gl-style/sprite"
When a style contains a reference to a sprite it will try to look in this path. The documentation for sprites says
that the following files be present, sprite.json, sprite.png, sprite@2x.json, sprite@2x.json.
If you add these file extensions to the sprite path of the dark matter style you can see how they look.
https://openmaptiles.github.io/dark-matter-gl-style/sprite.json
https://openmaptiles.github.io/dark-matter-gl-style/sprite.png
https://openmaptiles.github.io/dark-matter-gl-style/sprite@2x.json
https://openmaptiles.github.io/dark-matter-gl-style/sprite@2x.png
As always you can also reference them locally.